- Shut down the virtual machine.
- Open VMWare Workstation Player and right-click on the VM. (Don’t start the VM)
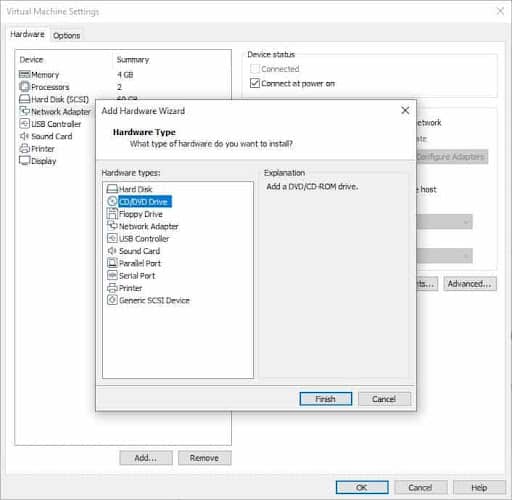
- Select the “Settings” option to edit the hardware settings.
- Highlight the CD/Drive on the left sidebar under the Hardware tab and click on the remove button.
- Repeat the above step to remove the Floppy Drive. (Technically optional, but this is what fixed it for me. Courtesy: AskUbuntu forums)
- Click on the “Add button” and select “CD/DVD” Drive and select finish. The right pane should now have the option “Use Physical Drive > Auto Detect” enabled. (Previously, it had the Windows ISO selected)
- Click on “OK” to close the window, and Start the VM as usual.
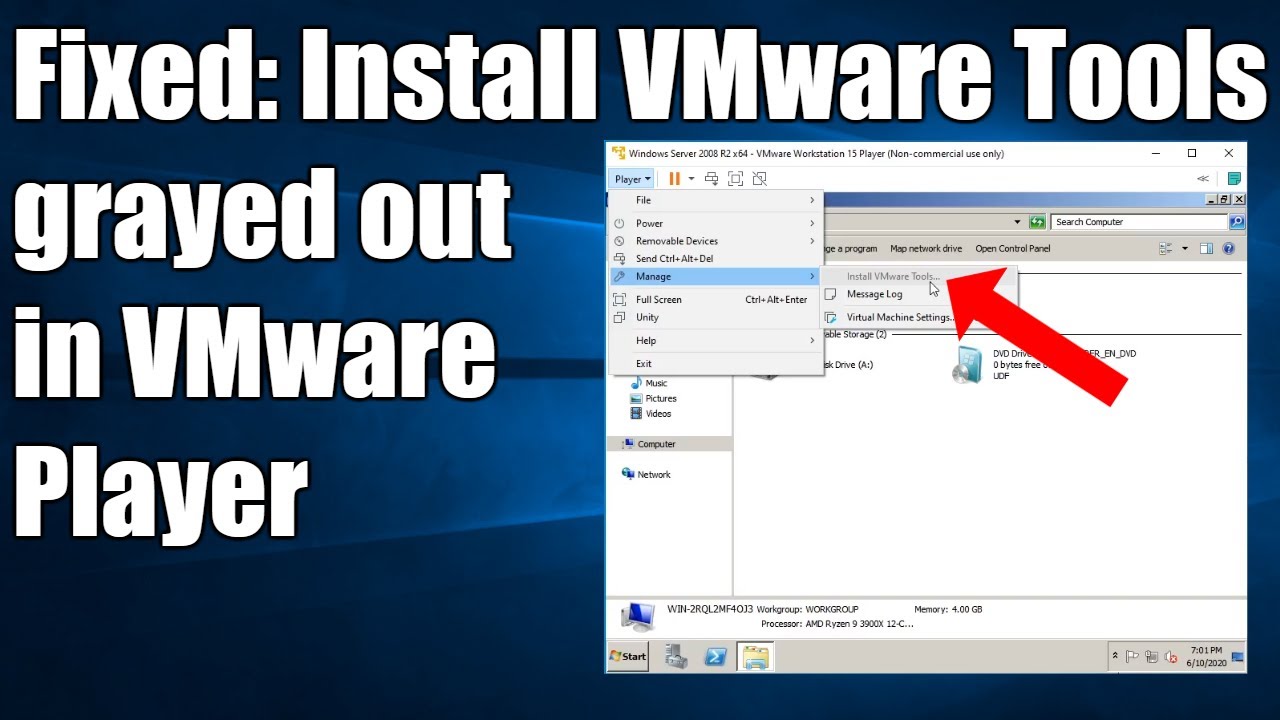
- Once it has booted to the desktop, click on the menu at the top left corner and go to “Player > Manage > Install VMWare Tools”.

The option to install VMware tools should no longer be grayed out. Click on it to begin the VMware installation. You will also see a new tab at the bottom of the screen prompting you to install the tools.